My almost-three-year old has always really loved octopuses, but her obsession with them comes and goes. One morning a few weeks ago, she woke up and said she had dreamt about a green octopus, and ever since then she has been asking for one. I finally got my hands on some green yarn and decided to try my hand at free-handing an octopus for her.
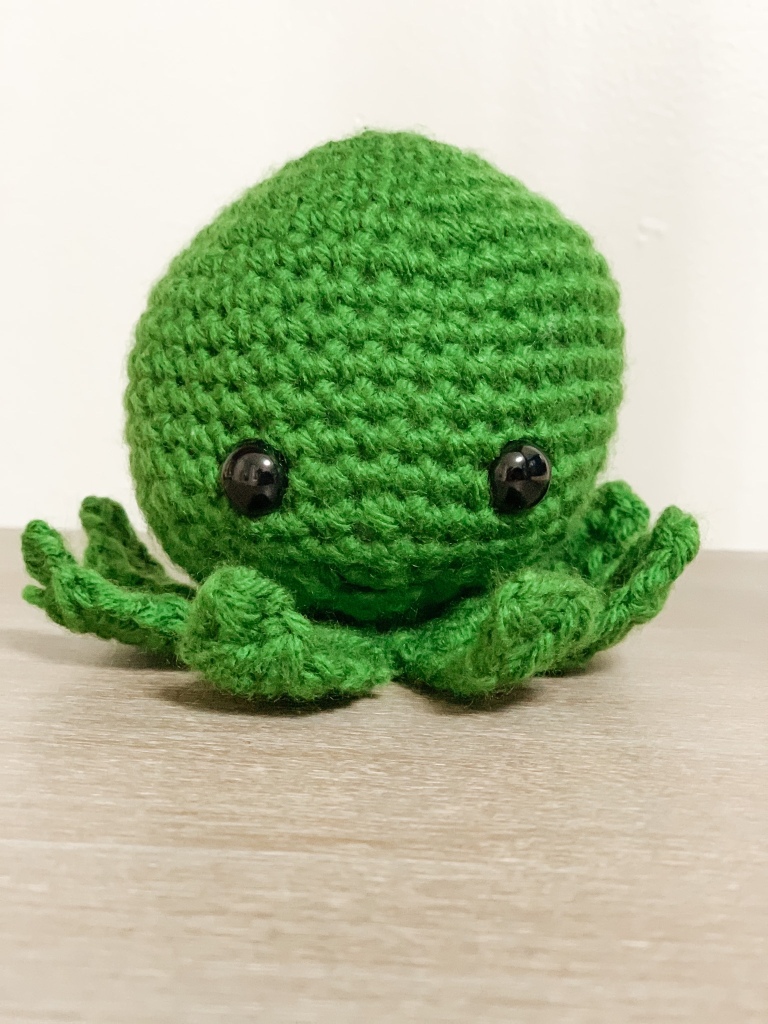
I have a bit of a love/hate relationship with amigurumi. While I love the finished products, and don’t mind making the item itself, I really detest sewing on parts. Really, truly detest it. So my aim in this was to make something that didn’t require any sewing (besides the tiny bit it takes to close up the body). I didn’t want stuffed tentacles because I knew those would have to be sewn on. So I went with a flat design that looks cute and is toddler-friendly. While the pattern is extremely simple, there is no mistaking this is an octopus, and my daughter was over the moon about it. In fact, I’ve had to make another one in purple, and she has also asked for a blue!

The first one (green) I made using a 5mm hook. When I made the purple, I dropped down to a 4.5mm hook and adjusted the pattern slightly to try to get it close to the same size. They are quite close, though the 4.5mm made it just a bit smaller. This pattern is the exact one I used to make the purple octopus as pictured, only because I felt that the spaces were a bit too large with the 5mm hook. You may adjust your hook size as desired, but if you do that you may want to add or remove rows to keep things in proportion.
My daughter named her octopus Zeus, and here is the free pattern for him. Please enjoy!

The Pattern
- Difficulty: Easy
- Yarn: I used Big Twist Value for the green one and Caron Simply Soft for the purple. Any worsted weight (4) yarn will give a similar look, or you can go up or down hook sizes and use a different weight yarn if you choose to.
- Hook: 4.5mm hook
- Gauge is not important for this pattern. Just remember to keep your stitches tight, so as to minimize any holes and keep the stuffing from poking out.
- You will also need: a yarn needle for weaving in ends; several stitch markers (at least one for marking your rounds, but I used stitch markers to place my tentacles and found it very helpful) — I like to use the plastic kind that close like safety pins; scissors, and safety eyes/embroidery thread/anything you would like to use to decorate the face of your octopus. I used 10mm black safety eyes and a tiny bit of black crochet thread on the green, and safety eyes with no thread on the purple.
Terms and Abbreviations
- MR – Magic Ring. If you aren’t sure how to make a magic ring, I would suggest searching for a video on youtube. It can take a bit of practice, but once you have it down it is a very useful tool for making amigurumi! If you have any trouble with this and need some pointers, please send me a message on instagram or here! I would be happy to make a quick video as well if you are more of a visual learner.
- sc – single crochet
- scBLO – single crochet in just the BACK LOOP of the stitch
- hdc – half double crochet
- sl st – slip stitch
- ch – chain
- sc2tog – single crochet two stitches together (insert hook, yarn over and pull up a loop, insert hook in next stitch, yarn over and pull up a loop, yarn over and pull through all loops on hook).
- sc2togBLO – single crochet two stitches together in just the BACK LOOP of the stitch.
- hdc2tog – half double crochet two stitches together (yarn over, insert hook, yarn over and pull up a loop, yarn over, insert hook in next stitch, yarn over and pull up a loop, yarn over and pull through all loops on hook).
- SM – Stich Marker
Instructions
***This pattern is worked in continuous rounds. Do not slip stitch at the end of your round, simply go right into the next stitch. Place a stitch marker in the first stitch of the round so you can keep track, and move it up every time you start a new round.
Begin with MR, chain 1
R1: 6sc in MR
R2: 2sc in each sc (12) (Place SM in first stitch of round)
R3: sc in first st, 2sc in next st. Repeat around (18)
R4: sc in first two sts, 2sc in next st. Repeat around (24)
R5: sc in first three sts, 2sc in next st. Repeat around (30)
R6: sc in first four sts, 2sc in next st. Repeat around (36)
R7: sc in first five sts, 2sc in next st. Repeat around (42)
R8: sc in first six sts, 2sc in next st. Repeat around (48)
R9-16: sc in each st around (48)
R17: sc in first six sts, sc2tog. Repeat around (42)
R18: sc in first five sts, sc2tog. Repeat around (36)
R19: sc in first four sts, sc2tog. Repeat around (30)
R20: sc in first three sts, sc2tog. Repeat around (24)
R21: sc in first two sts, sc2tog. Repeat around (18)
R22: sc in each st around (18)
At this point I would add the safety eyes or any other facial features you would like, add as much stuffing as you can, then continue.
R23: sc in each st around (18)
R24: 2sc in each sc (36)
R25: sc2togBLO, scBLO. Repeat around ALL IN BLO (24)
R26: sc2tog around (12) Sl st to first stitch of round, chain one and fasten off, leaving a long enough tail to sew the hole shut. Add enough stuffing to fill the remaining space and sew shut. Weave in the end with yarn needle.


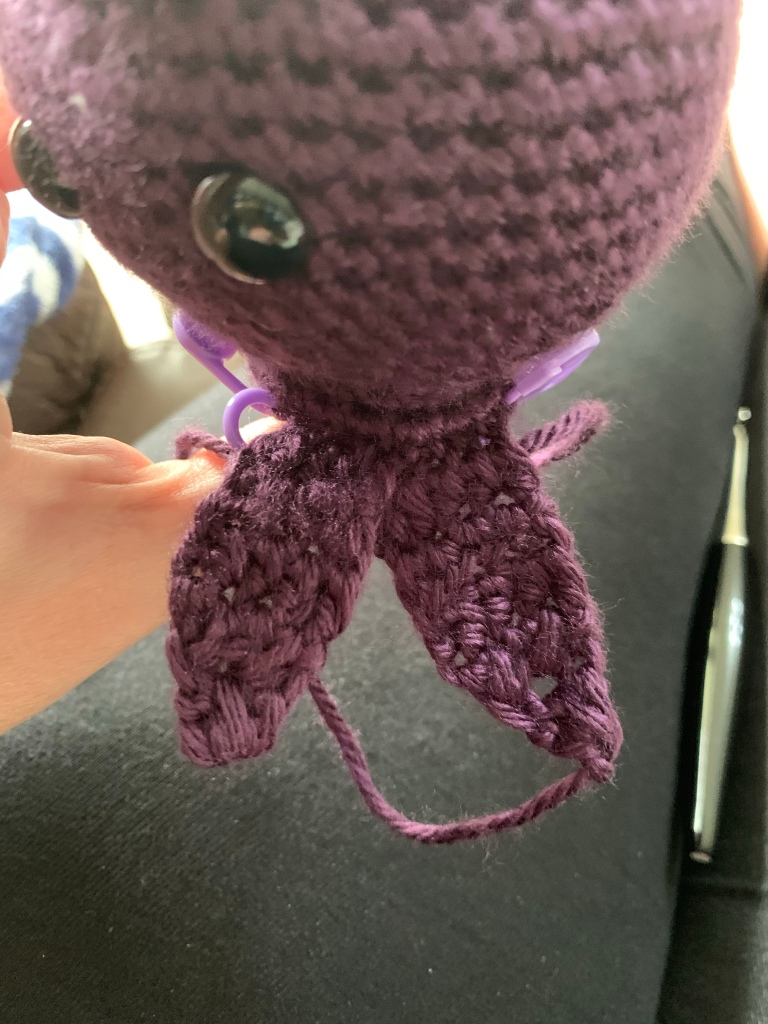
The tentacles will go in the FRONT loops of the row we did BLO. Use stitch markers to plan out where the tentacles will go. I placed the tentacles in groups of two, with one space in between each group. Each tentacle is 4 stitches wide:
Space in front center, four stitches for tentacle 1, four stitches for tentacle 2, space, four stitches for tentacle 3, four stitches for tentacle 4, space, four stitches for tentacle 5, four stitches for tentacle 6, space, four stitches for tentacle 7, four stitches for tentacle 8 (total 36 including spaces)


I made each tentacle by attaching the yarn in the first stitch marked off for the tentacle, then
R1-3: hdc in 4sts, ch1 and turn (4)
R4: hdc2tog (x2), ch 1 and turn (2)
R5: hdc2tog (1). Fasten off.
Repeat 8 times to finish off all the tentacles. Feel free to make the tentacles as long as you’d like!

That’s it!! I hope you have enjoyed this pattern. Please let me know if you decide to make this, and if you can, add a picture to your social media and tag it #zeustheoctopus and tag me in it as well @RiotousRootsHandmade
If you have any questions, please do not hesitate to contact me! I’m open to any and all feedback. Comments are welcome!
Happy hooking,
Andrea
